

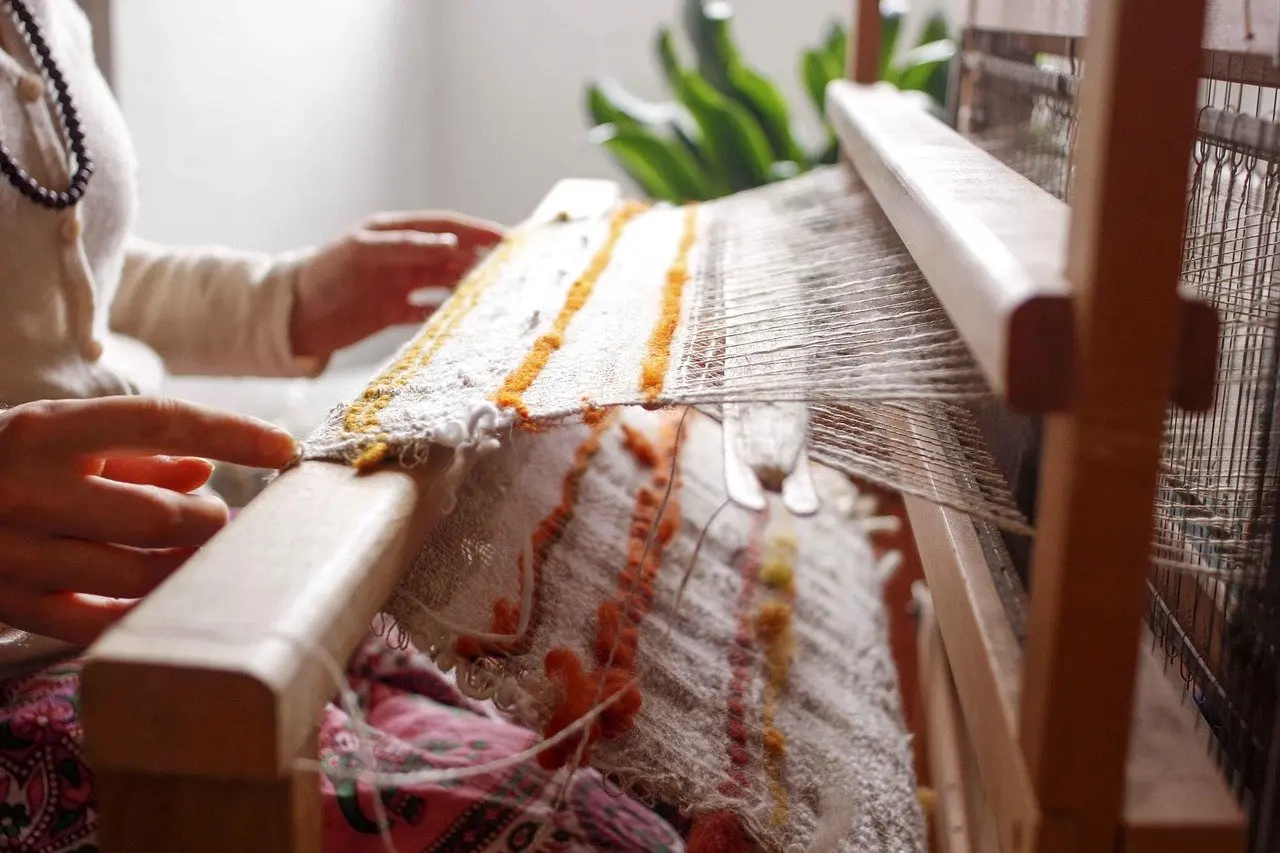
How to hang a tapestry on the wall depends on its weight and back: Velcro tape or nails suit lighter pieces, a rod suits pieces with a back pocket, and a baseboard supports heavy ones. Keep it out of direct sun.
This guide covers support methods that spread the load along the top edge, then light protection. For wall layout, spacing and general guidance, see how to hang art on a wall. Framed work follows different rules, covered in how to hang pictures on a wall.
What to have ready
The right method depends on a few checks you can make before buying anything. Settle these first, because they decide the order of the steps below.
- The back of the textile. Turn it over and look for a sleeve, meaning a pocket sewn across the back. A pocket opens up the rod method.
- Weight and weave. Lift it by the top edge. Architectural Digest notes that weighty textiles and tapestries may need more support, and that nails suit larger weaves better than thin ones.
- The wall. A flat wall accepts any method. A curved wall narrows the choice to hook-and-loop tape.
- The light. Note where windows, doors and skylights sit, because the best wall for fabric is often not the brightest one.
- Materials for your chosen method. These may include self-adhesive Velcro tape, nails or pushpins, a rod, a board for the pocket, or a wood frame and staple gun.
Hanging a tapestry step by step
Step 1: Judge weight, back and fragility
Start by sorting the piece into light, pocketed, heavy or fragile. A light piece with a loose, open weave behaves differently from a dense one that pulls hard on its top edge. If it feels heavy when lifted, treat it as a weighty textile and plan to support the full top edge rather than a few points.
Step 2: Choose the support method
Match the method to the piece rather than to what you already own. Architectural Digest describes several routes, and each suits a different textile.
- Corners or a nail row suit lighter pieces and larger weaves.
- Velcro tape suits curved walls and avoids holes in the fabric.
- A rod suits tapestries with pockets in the back.
- A baseboard suits weighty textiles.
- A frame or glass suits thin, small or fragile fabrics.
If you need nails, hooks or anchors for the wall side of any method, types of picture hanging hardware explains the options.
Step 3: Hang by the corners or with a row of nails
This is the quickest route for a lighter piece. Architectural Digest says to hang by the corners for a casual drape, or to attach with a row of nails spread across the top for a straighter look. The row is the better choice when you want an even edge, because the weight is shared between several nails rather than carried by two corners.
Check the weave before driving anything in. The same source says nails or pushpins work well with larger weaves, while thin pieces may end up with holes. If the textile is thin, move on to the Velcro or frame method instead.
Step 4: Attach it with hook-and-loop tape
The Velcro method uses self-adhesive hook-and-loop tape to attach the textile to the wall, according to Architectural Digest. It is a good fit for a curved wall, and it keeps holes out of the fabric, which makes it the sensible default for a thin or delicate weave that cannot take nails.
Work along the whole top edge rather than in a few patches, so that the load is shared along the textile’s width. Press the wall side firmly into place, then bring the textile up to meet it and smooth it down from the centre outwards.
Step 5: Use a rod through the back pocket
A wall hanging rod works only when the textile has a pocket to receive it. Architectural Digest advises using a rod to hang tapestries with pockets in the back. The pocket lets the rod carry the weight along the full width, which is why this method looks tidy and flat.
A pieceless of pocket can still use a rod. For a rectangular or particularly large piece, the same source suggests draping it over the rod. Draping suits big, flexible textiles, but a pocket gives a cleaner, more controlled edge.
The question of which rod suits a heavy wall hanging is answered by the support behind it, not the rod alone. For a weighty piece, pair the rod with the board described in the next step.
Step 6: Add a baseboard for heavy textiles and rugs
Heavy textiles, including a rug used as wall art, need a continuous support across the top. Architectural Digest says a baseboard helps secure weighty tapestries to the wall. Select a board that fits inside the rod pocket at the back, and cut it so that it is smaller than the width of the textile.
Keeping the board shorter than the textile means the support sits inside the top edge instead of pulling at the corners. For a rug with no pocket, the same principle applies: spread the weight along the full top edge rather than hanging it from a few points.
Step 7: Frame or glaze thin and fragile pieces
Thin textiles can be stretched over a wood frame. Architectural Digest says to stretch and fold the textile over the frame and attach it with a staple gun, and to add a canvas layer for thinner fabrics. This gives a flat, evenly supported result with no strain on the weave.
Fragile fabrics and smaller tapestries may be best behind glass, according to the same source. Choose glass over open hanging when the piece is delicate enough that you would hesitate to touch it.
Step 8: Set the height and check for glare
Hang the piece at eye level so that anyone viewing it can enjoy the full effect, a point made by The Scout Guide. If the wall receives natural light, look at the piece from several positions in the room and check for glare before you finish.
Protecting fabric art from light
Direct, constant sunlight is the main threat to a displayed textile. The Scout Guide explains that UV rays from direct, constant sunlight dilute colour over time, and it recommends keeping art where it receives the least direct sun.
Choosing the wall
Keep fabric art away from windows, doors and skylights where possible. A wall that never catches direct sun solves the problem more reliably than any later fix, so make this the deciding factor when two walls are otherwise equal.
Rotating and glazing
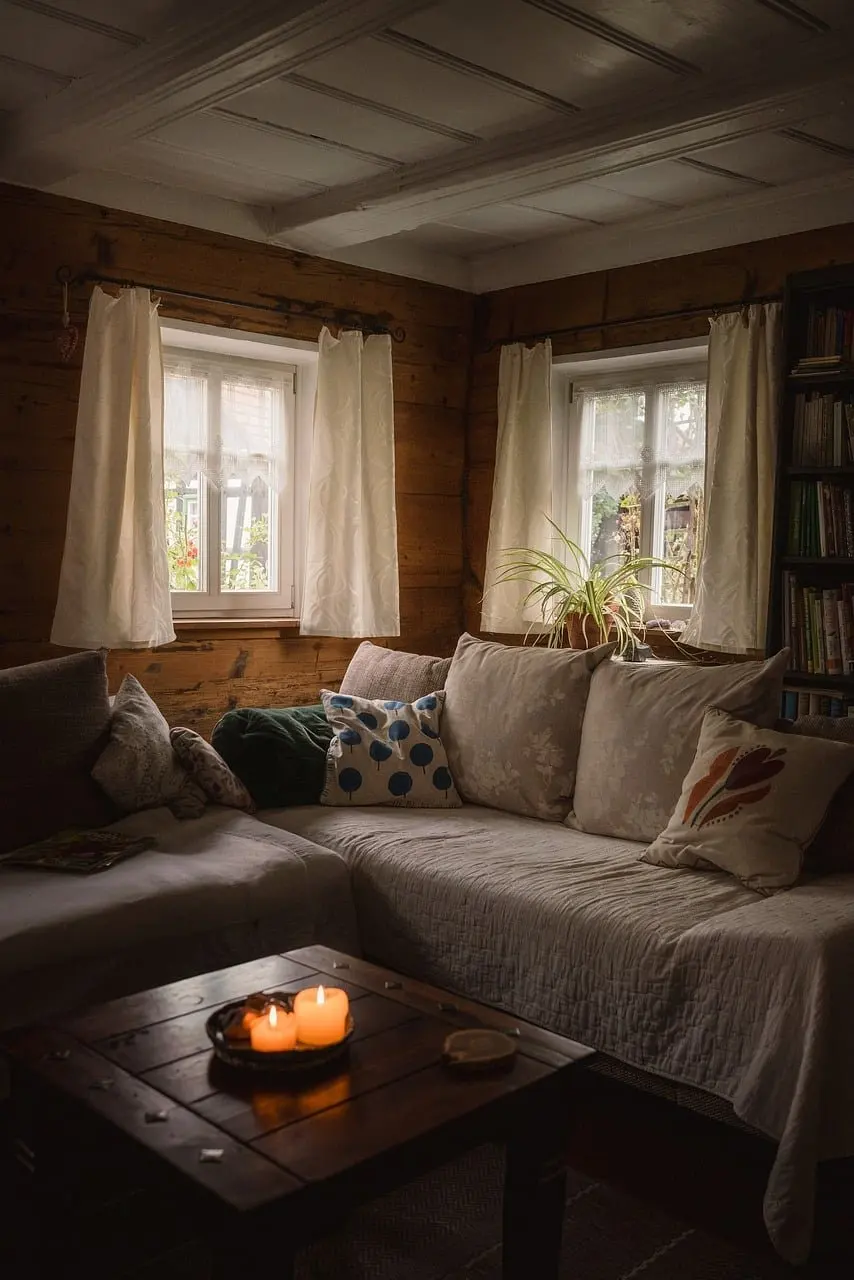
Where sun cannot be avoided, the same source suggests moving art around periodically to reduce consistent exposure, and recommends adding museum glass to protect the face of the piece. Glass suits small or fragile textiles best, since Architectural Digest also points to glass for fragile fabrics and smaller tapestries. Heavy rugs and large hangings are harder to glaze, so for these the choice of wall carries most of the weight.
Specific light-level limits in lux come from textile conservation guidance for museums. For a home display, the practical rule is the one above: minimise direct sun and treat any bright wall with caution.
Checkpoint: match the method to the piece
Use this table to confirm your choice before you fix anything to the wall.
| Method | Best for | Trade-off |
|---|---|---|
| Corners | A casual drape | Weight concentrates at the corners |
| Row of nails | Larger weaves and a straight top edge | Thin pieces may get holes |
| Self-adhesive Velcro | Curved walls and holes-free hanging | Depends on the tape bond along the edge |
| Rod through a pocket | Tapestries with back pockets | Needs a pocket, or a drape for large pieces |
| Baseboard | Weighty tapestries and heavy textiles | Board must fit the pocket and be shorter than the width |
| Frame or glass | Thin, small or fragile fabrics | Frame work or glazing adds effort |
The methods and trade-offs above follow the guidance in Architectural Digest’s tapestry hanging guide.
Frequently asked questions
Can I use nails on a thin tapestry?
It is risky. Nails and pushpins work well with larger weaves, but thin pieces may end up with holes, so hook-and-loop tape or a frame is the safer route.
Which method works on a curved wall?
Self-adhesive Velcro tape, which Architectural Digest describes as a great method for a curved wall and one that avoids holes in the fabric.
Should a small tapestry go behind glass?
Often yes. Fragile fabrics and smaller tapestries may be best behind glass, and museum glass protects the face when sun is unavoidable.
How high should a wall hanging go?
At eye level, so that viewers see the full effect. Check the wall for glare from natural light once it is up.